What I'd like to do
NextcloudにSAMLアカウントでログインできるようにしたい。
What is needed
Auth0
NextCloud (サーバーOSはubuntuを使用)
SetUp NextCloud
NextCloudサーバーにApacheとShbbolethをインストールし、そもそも認証済みでなければログイン画面が表示されないようにする。
Shibbolethのインストール
#リポジトリの追加
curl --fail --remote-name https://pkg.switch.ch/switchaai/ubuntu/dists/focal/main/binary-all/misc/switchaai-apt-source_1.0.0~ubuntu20.04.1_all.deb
sudo apt install ./switchaai-apt-source_1.0.0~ubuntu20.04.1_all.deb
sudo apt update
#shibbolethをインストール
sudo apt update
sudo apt install --install-recommends shibbolet
#SSL証明書取得用にLet’s Encryptも入れておく
sudo apt install python-certbot-apache
sudo certbot --apache -d {ドメイン}
Apacheをインストールしてconfファイルを設定する
sudo apt install apache2confファイルはこんな感じ
LoadModule proxy_module modules/mod_proxy.so
LoadModule proxy_http_module modules/mod_proxy_http.so
<VirtualHost *:80>
RewriteEngine on
RewriteCond %{HTTPS} off
RewriteRule ^(.*)$ https://%{HTTP_HOST}%{REQUEST_URI} [R=301,L]
</VirtualHost>
<VirtualHost *:443>
       Include /etc/letsencrypt/options-ssl-apache.conf
       ErrorLog ${APACHE_LOG_DIR}/error.log
       CustomLog ${APACHE_LOG_DIR}/access.log combined
       ServerName サーバーのドメイン
        ProxyRequests Off
        <Location />
          <RequireAny>
            AuthType shibboleth
            ShibRequestSetting requireSession true
            require shibboleth
            require shib-session
            #ShibUseHeaders On
            #クライアントアプリからのアクセスはSSOをSKIPしている。
            Require expr %{HTTP_USER_AGENT} =~ /(ownCloud|Nextcloud)/
            Require ip IPAddress
          </RequireAny>
          ShibUseHeaders On
          ProxyPreserveHost On
          ProxyPass  http://Wireguardで割り振ったNextcloudのIP
          ProxyPassReverse  http://Wireguardで割り振ったNextcloudのIP
        </Location>
SSLCertificateFile 証明書のパス
SSLCertificateKeyFile 証明書のパス
</VirtualHost>
Auth0のセットアップ
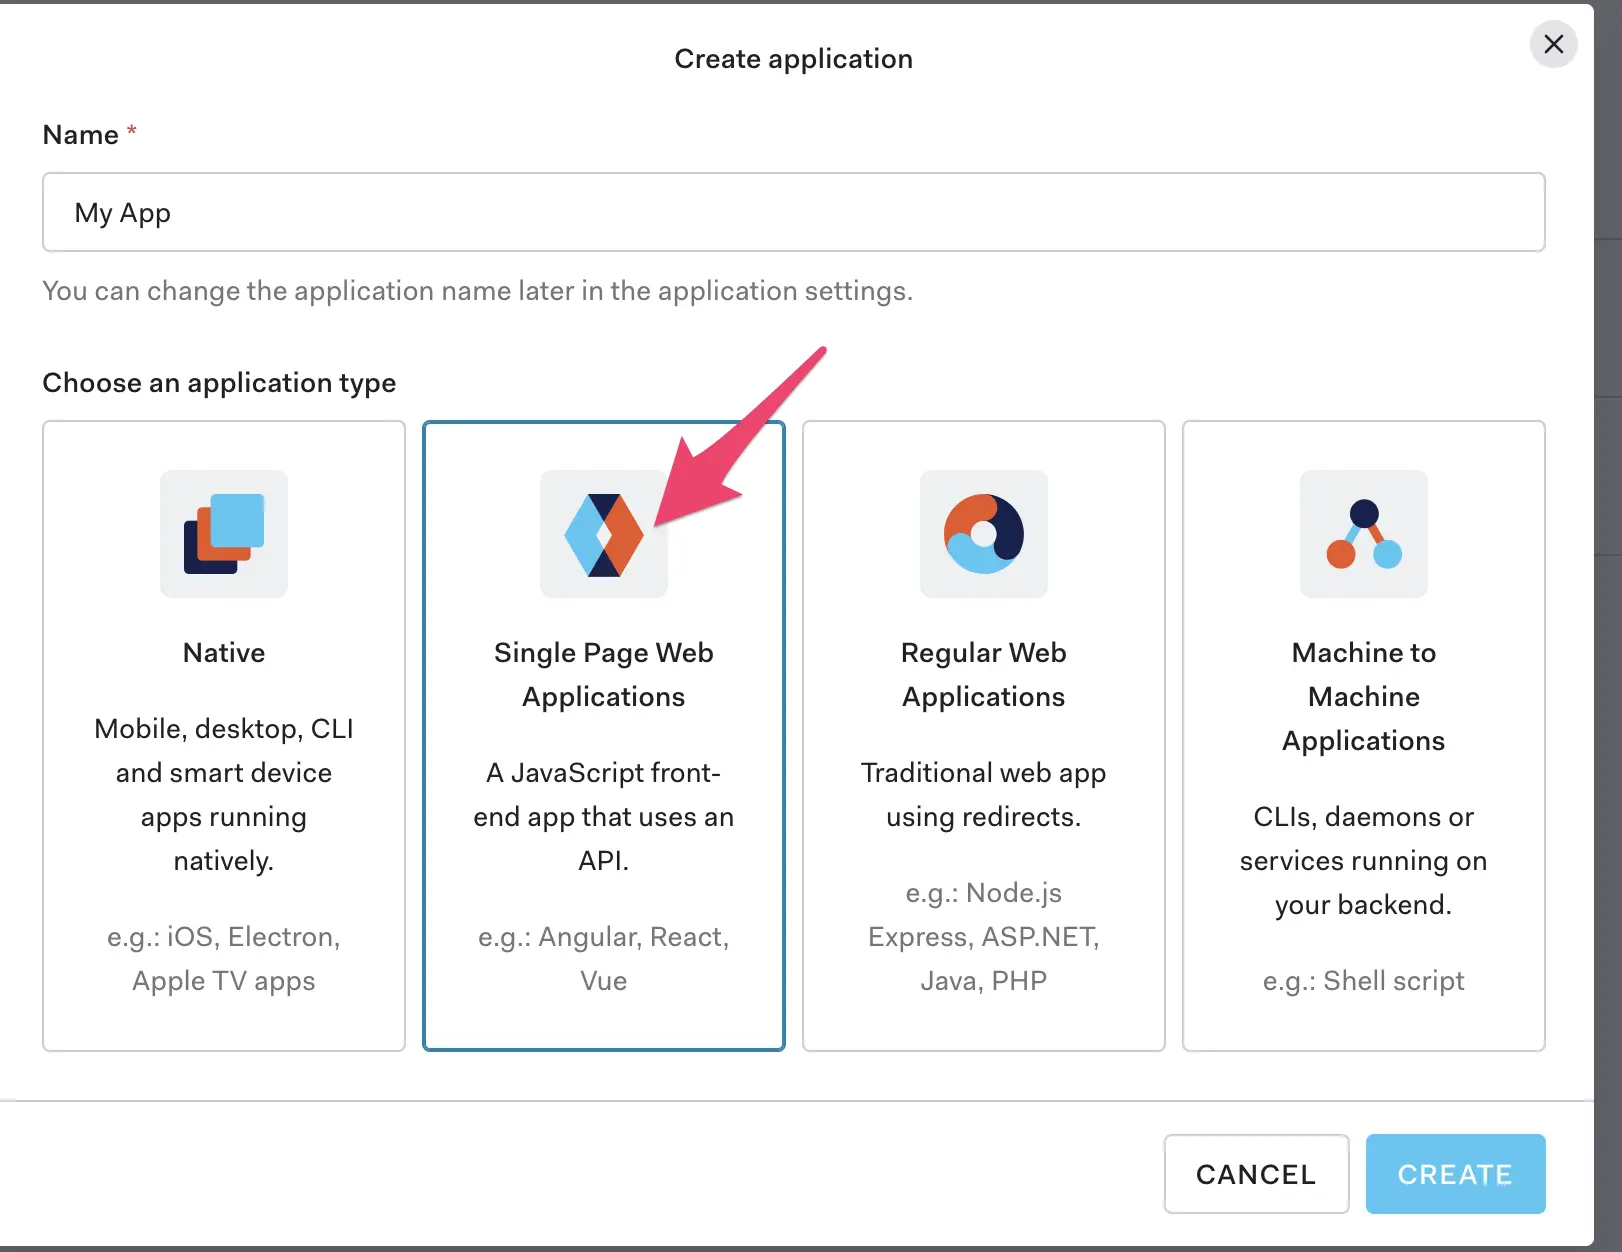
今回はAuth0をSAML IdPとして使う。 登録が完了したらSAML(SSO)の設定を進めていく。 メニューからあぷりけーしょんを選択して、CREATEアプリケーションを押下する。
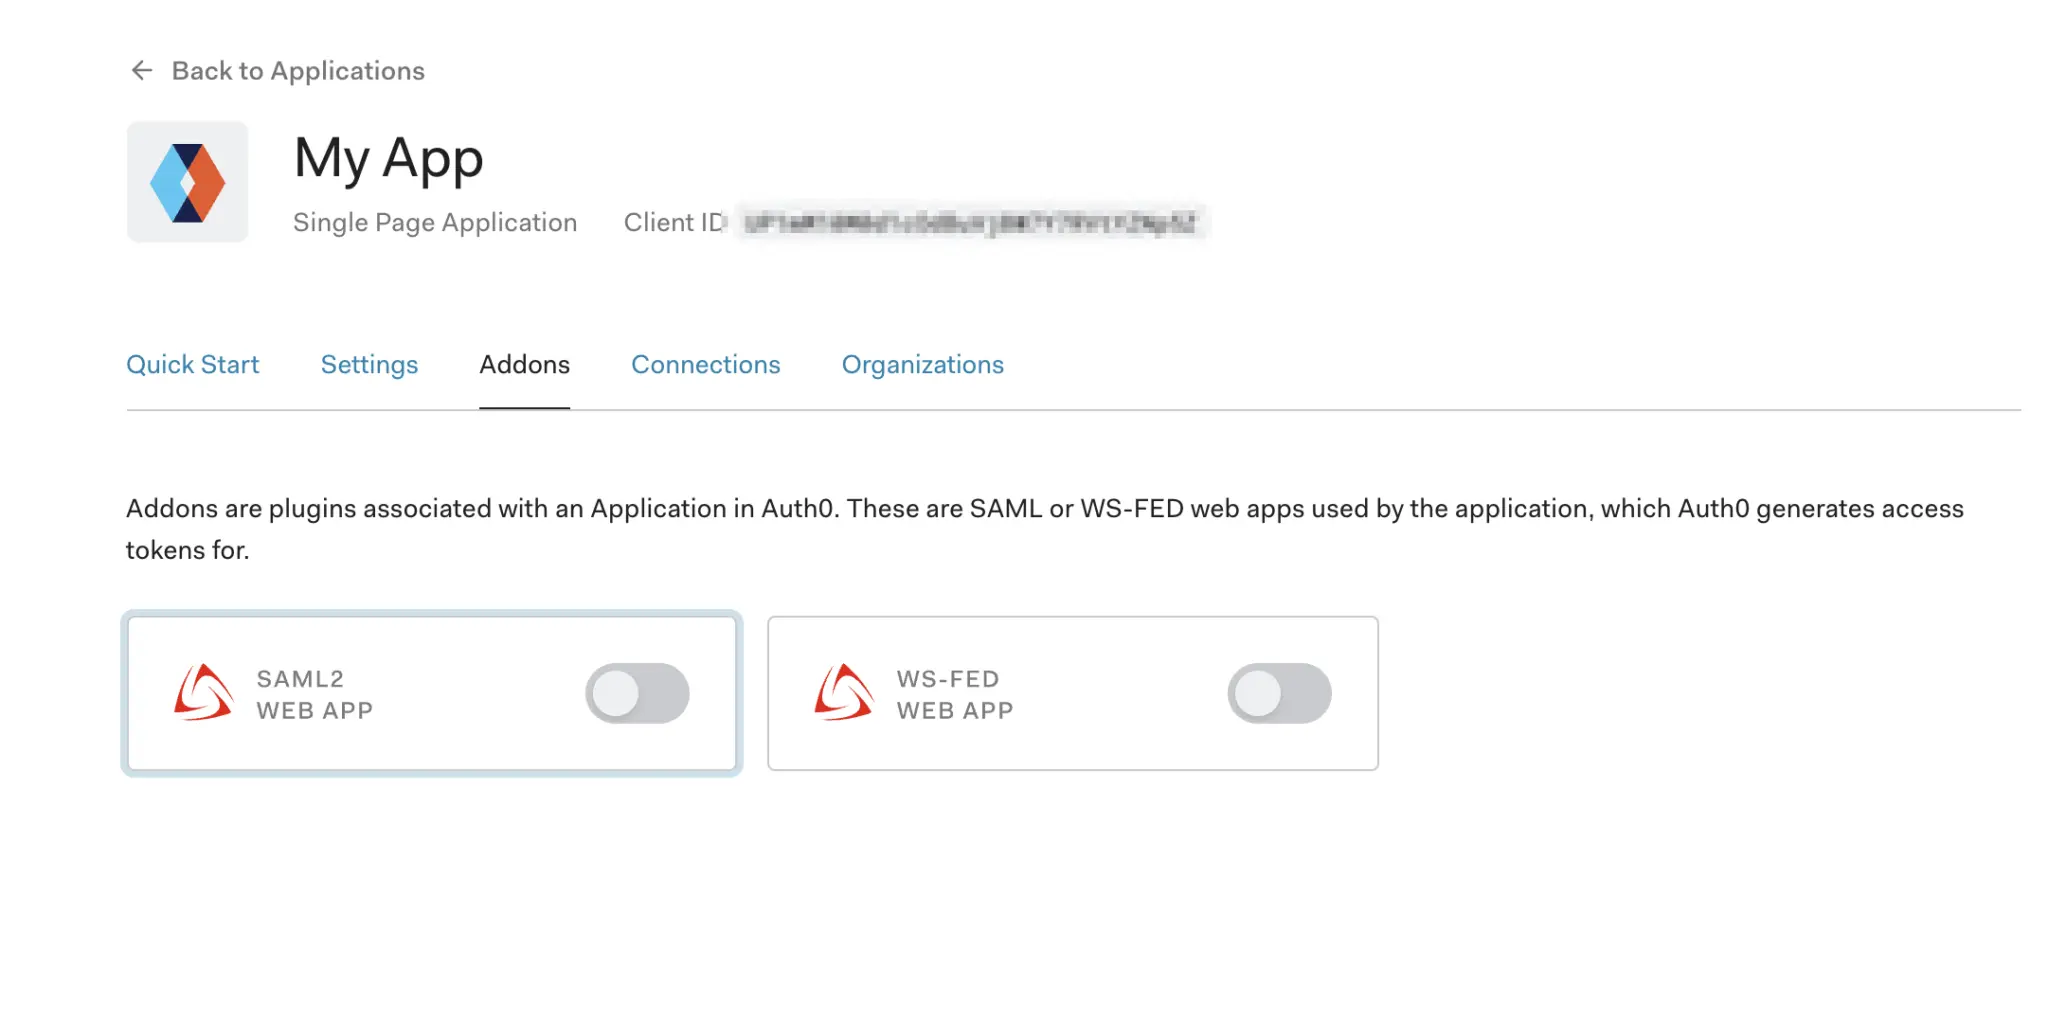
アプリケーションタイプはSimpleを選択し、いい感じの名前を設定する。 作成できたらAddonsからSAML2をONにする。
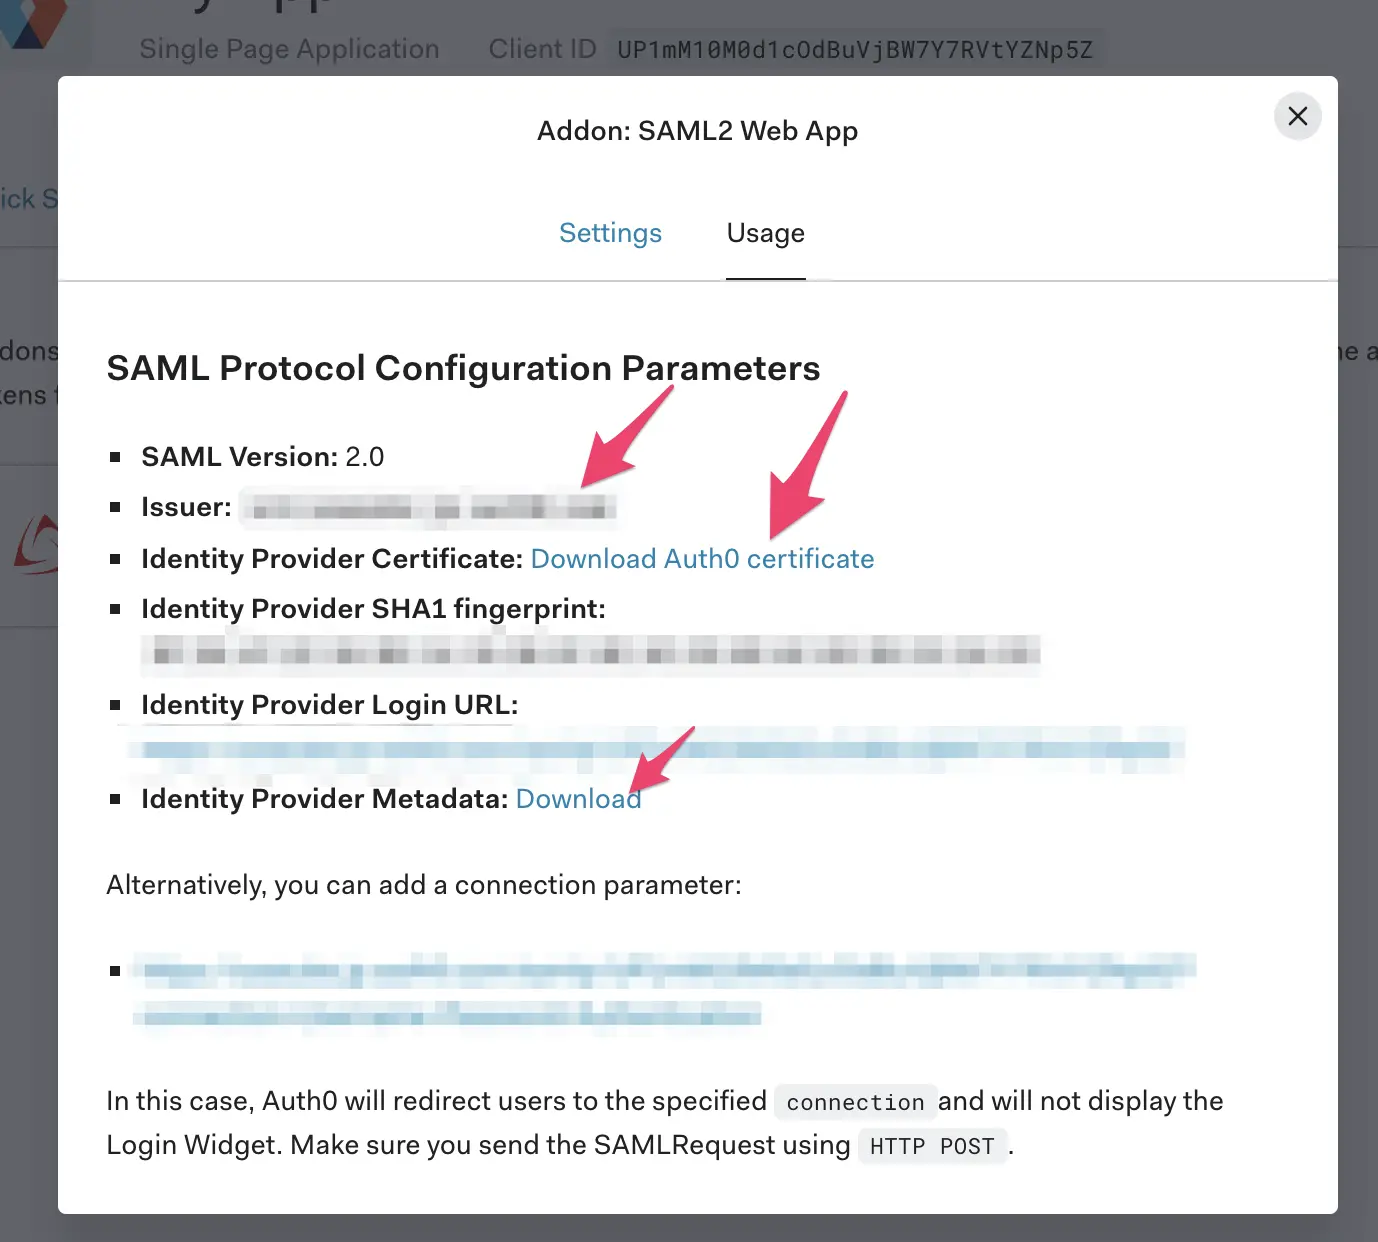
ONにするとポップアップが表示されるので、証明書とIdP Metadataダウンロードを選択する。メタデータにはこんな感じのデータが格納されている。
ダウンロードしたメタデータの中身はこんな感じ
<EntityDescriptor entityID="IdP(Auth0)のId" xmlns="urn:oasis:names:tc:SAML:2.0:metadata">
  <IDPSSODescriptor protocolSupportEnumeration="urn:oasis:names:tc:SAML:2.0:protocol">
    <KeyDescriptor use="signing">
      <KeyInfo xmlns="http://www.w3.org/2000/09/xmldsig#">
        <X509Data>
          <X509Certificate>証明書</X509Certificate>
        </X509Data>
      </KeyInfo>
    </KeyDescriptor>
    <SingleLogoutService Binding="urn:oasis:names:tc:SAML:2.0:bindings:HTTP-Redirect" Location="ログアウトURL"/>
    <SingleLogoutService Binding="urn:oasis:names:tc:SAML:2.0:bindings:HTTP-POST" Location="ログアウトURL"/>
    <NameIDFormat>認証情報の格納形式</NameIDFormat>
    <SingleSignOnService Binding="urn:oasis:names:tc:SAML:2.0:bindings:HTTP-Redirect" Location="SPからの認証要求投げ先"/>
    <SingleSignOnService Binding="urn:oasis:names:tc:SAML:2.0:bindings:HTTP-POST" Location="SPからの認証要求投げ先"/>
    <Attribute Name="各種ユーザー情報を格納する形式等"/>
  </IDPSSODescriptor>
</EntityDescriptor>
ここで後々必要になってくるのはentityIDなのでメモっておく。 Settingsタブに移動してCallback URLを指定する。 設定値は、nextdcloudのドメイン名/apps/user_saml/saml/acs

次にnextcloudを Auth0に登録する
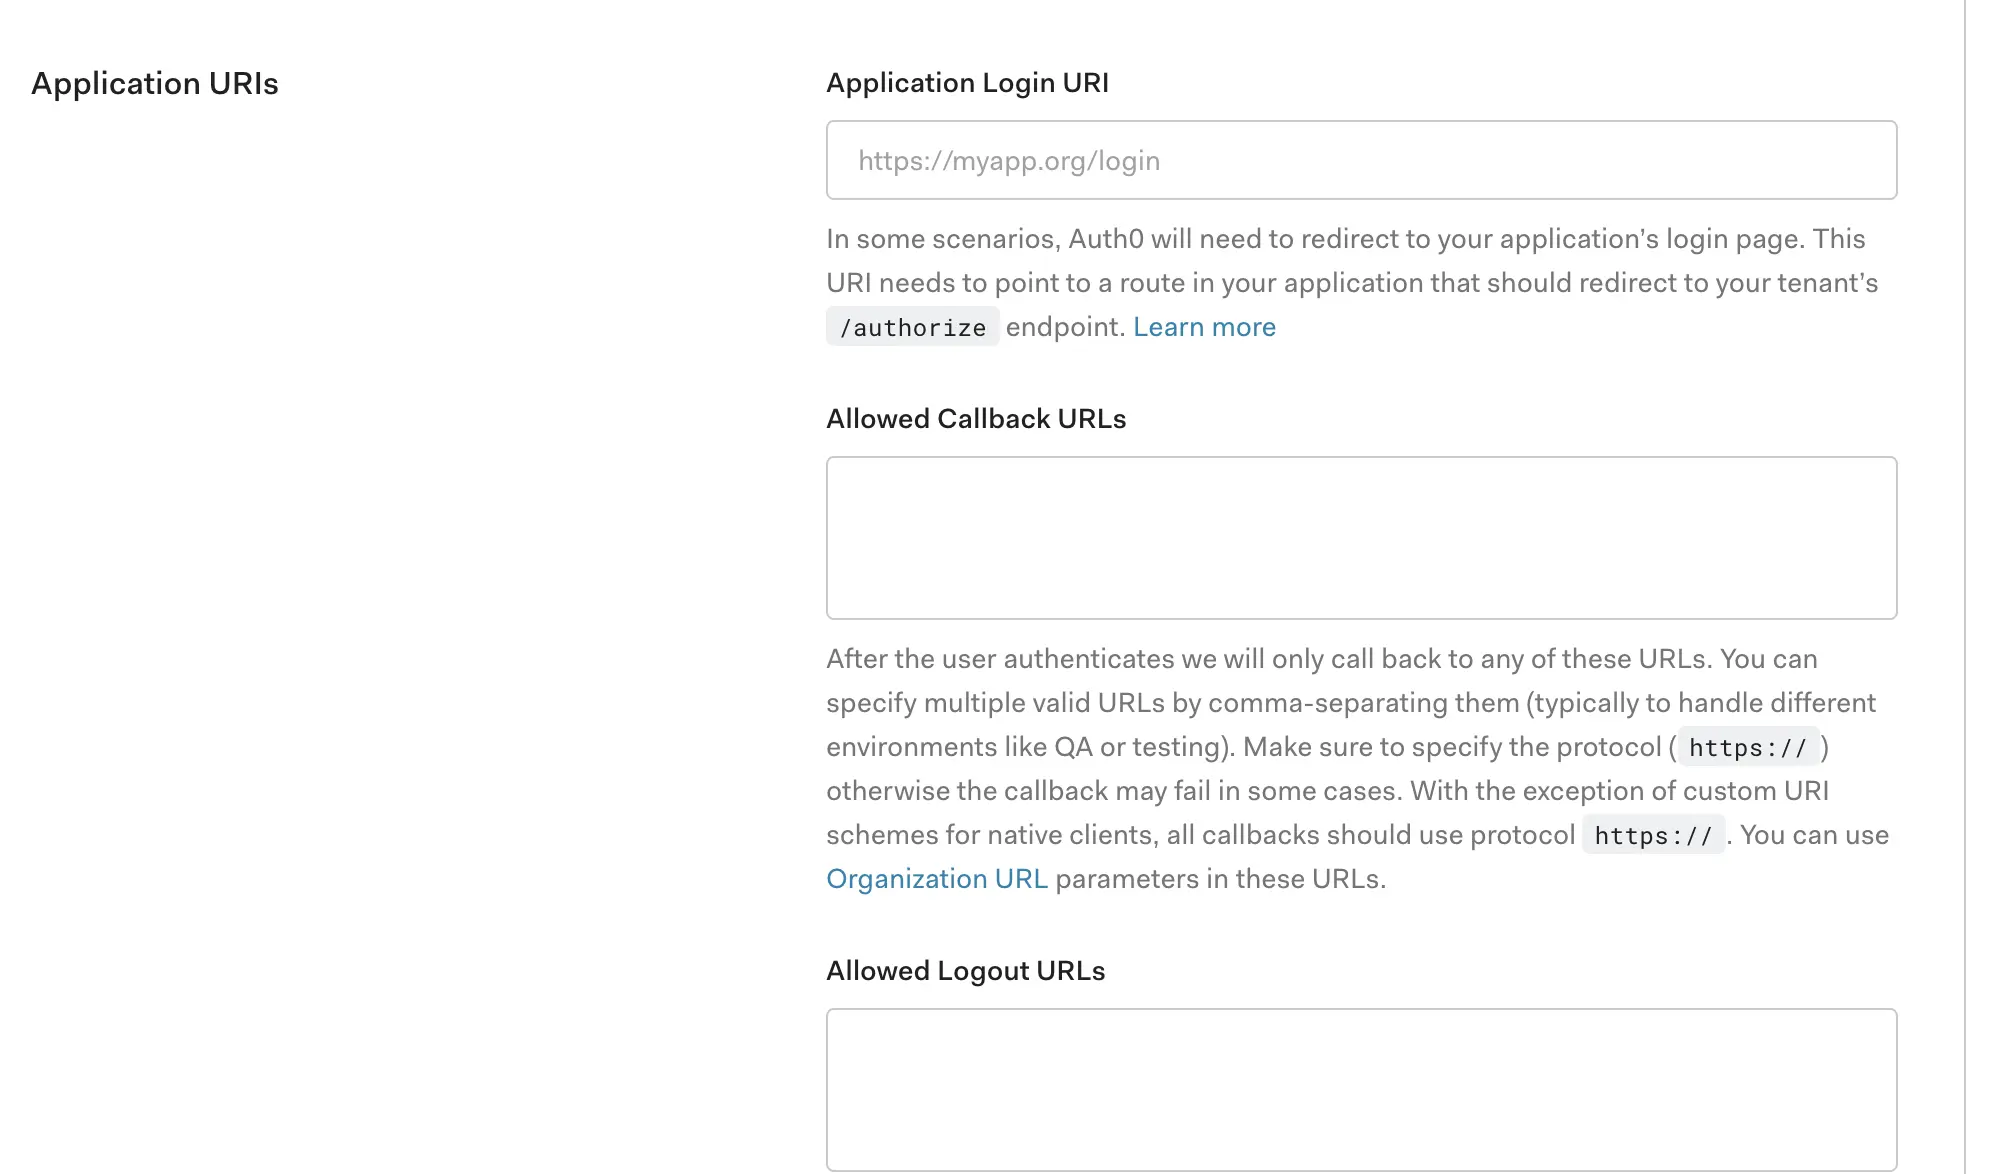
Application LoginURIにドメイン/login AllowedcallbackURLsにドメイン/apps/user_saml/saml/acsを指定する。
Shibboleth設定
Shibbolethの設定に戻る
cd /etc/shibboleth/
#ダウンロードしたAuth0のメタデータをこのフォルダに配置する。
#shibbolethのconfをいじる
sudo vim shibboleth2.xml
#Line 26
<SSO entityID="エンティティId"
                 discoveryProtocol="SAMLDS" discoveryURL="https://ds.example.org/DS/WAYF">
              SAML2
</SSO>
#Line 115<MetadataProvider type="XML" validate="true" path="上で保存したメタデータのファイル名"/>
#保存してShibbolethを再起動する
sudo systemctl restart shibd
NextCloudのセットアップ
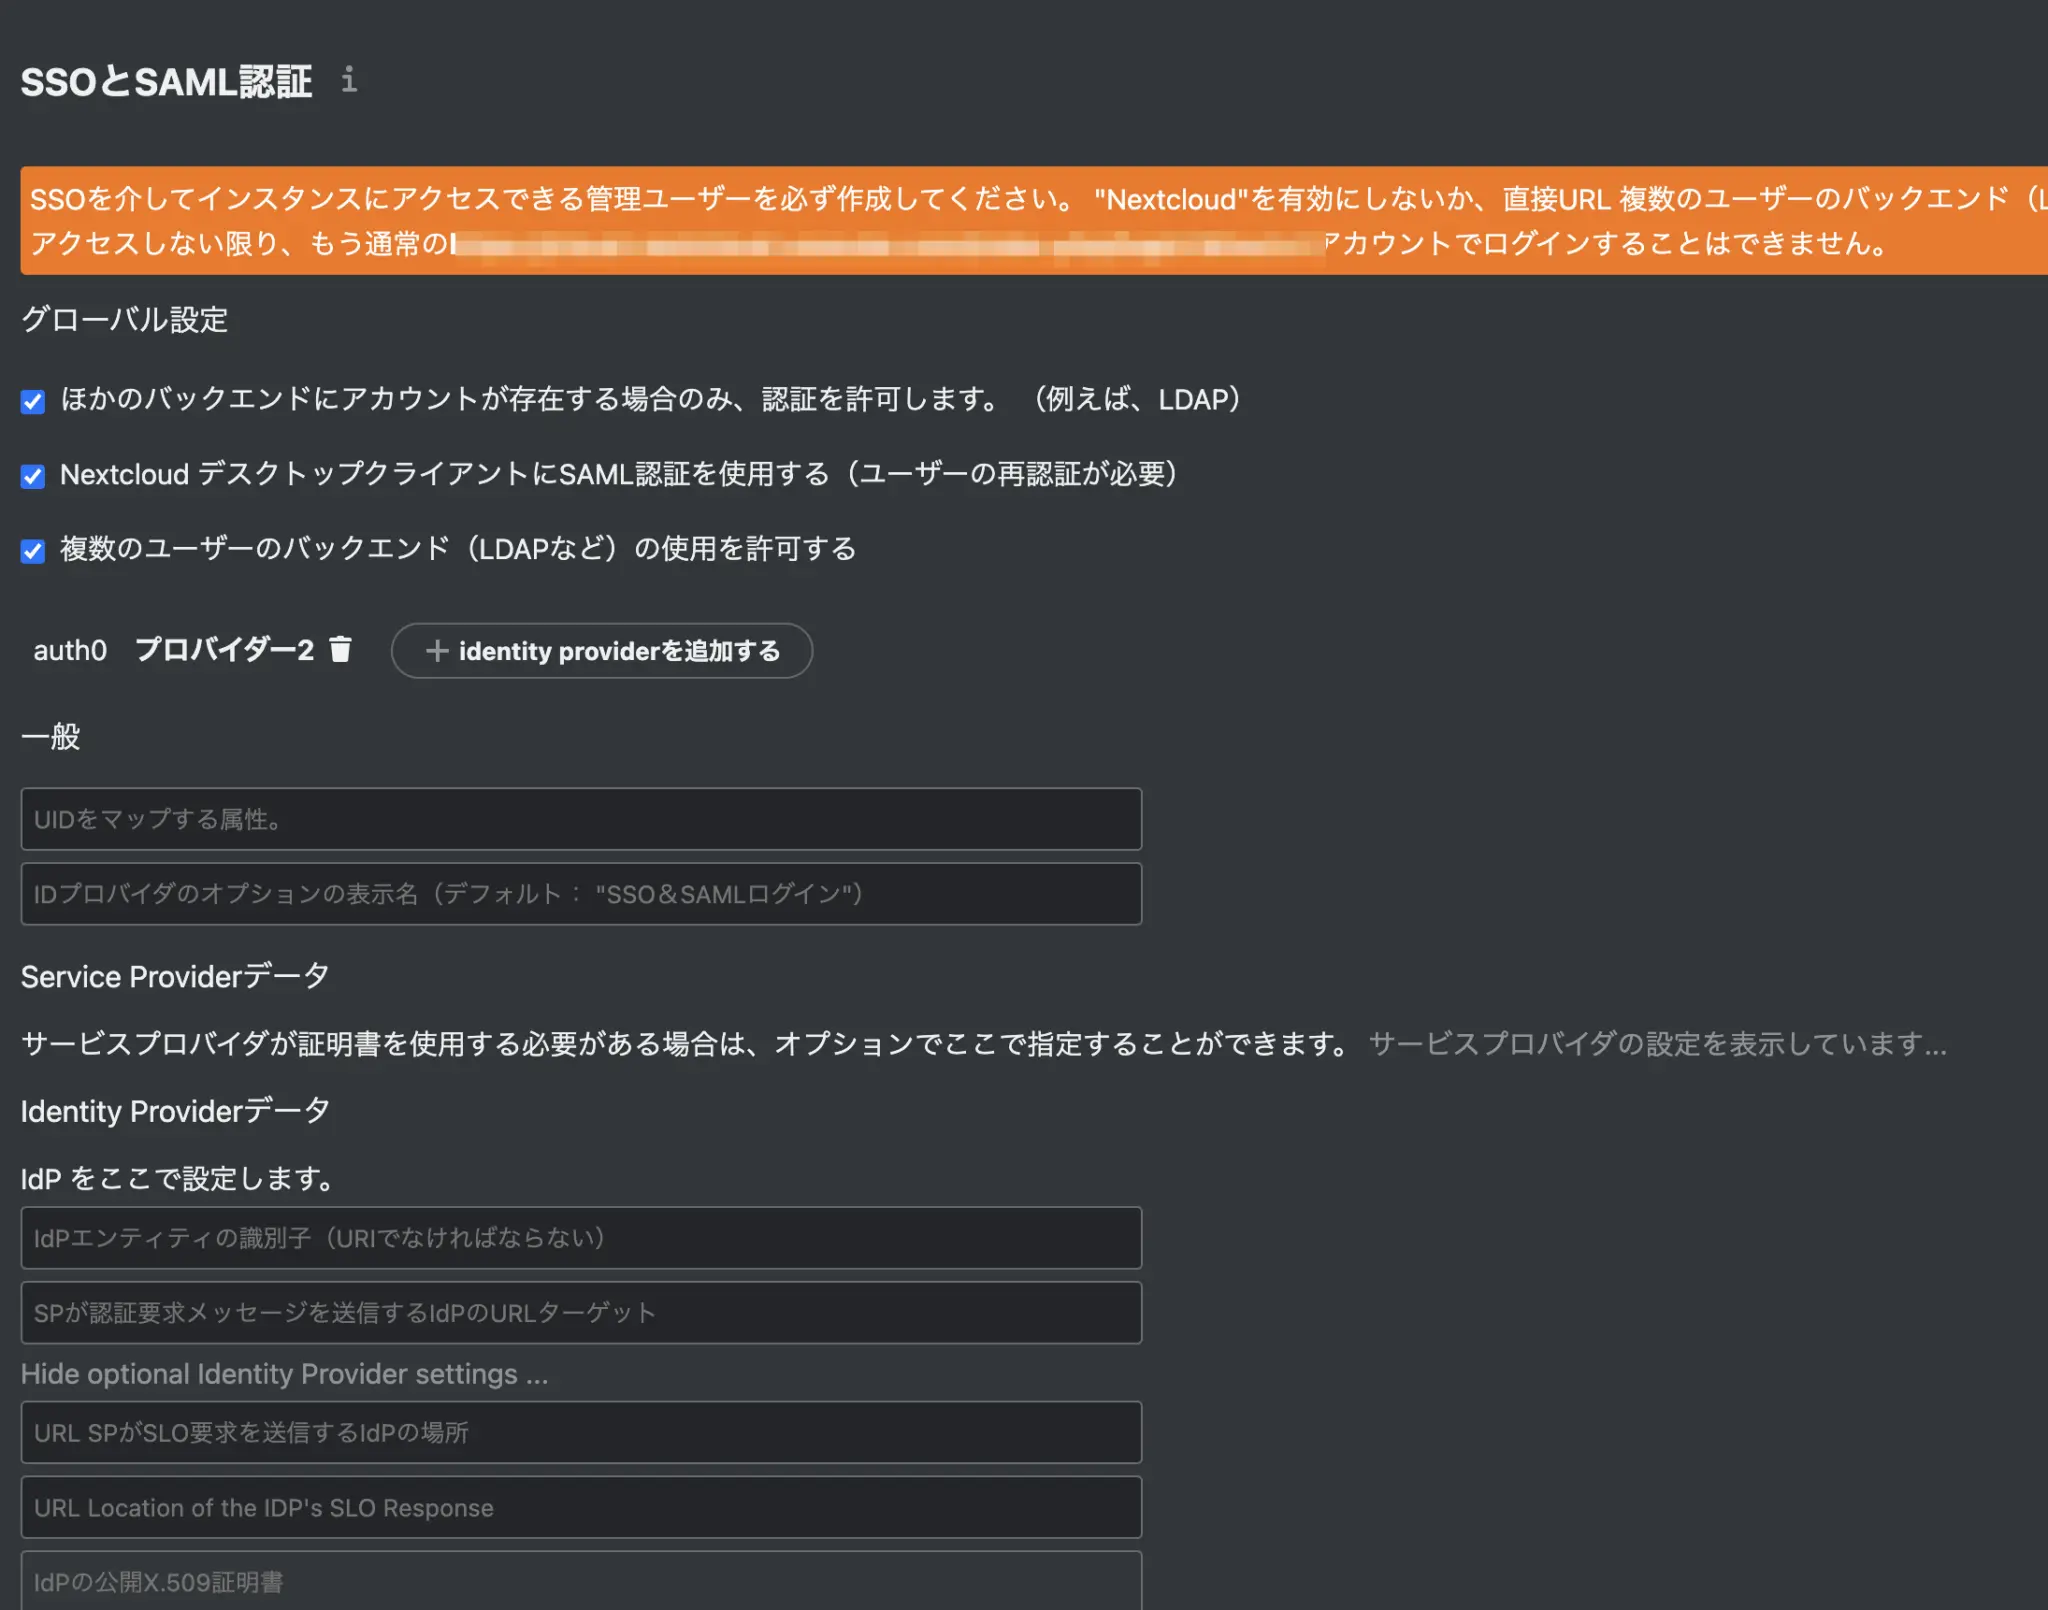
基本は公式ドキュメント通りに進めればOKなので今回は割愛する。 公式ドキュメント インストールが終わったら、SAMLアプリを追加して設定を進める
UIDをマッピングする属性=http://schemas.xmlsoap.org/ws/2005/05/identity/claims/emailaddress #auth0に登録してあるメールアドレスをnextcloudのユーザーIdとして使う場合
IdPのエンティティId=Issuer
IdPの表示名は好きなものを
SPが認証要求メッセージを送る〜=IdentitityProvierLoginURL
SLOを要求する場所=IdentitityProvierLoginURL/logoutを指定
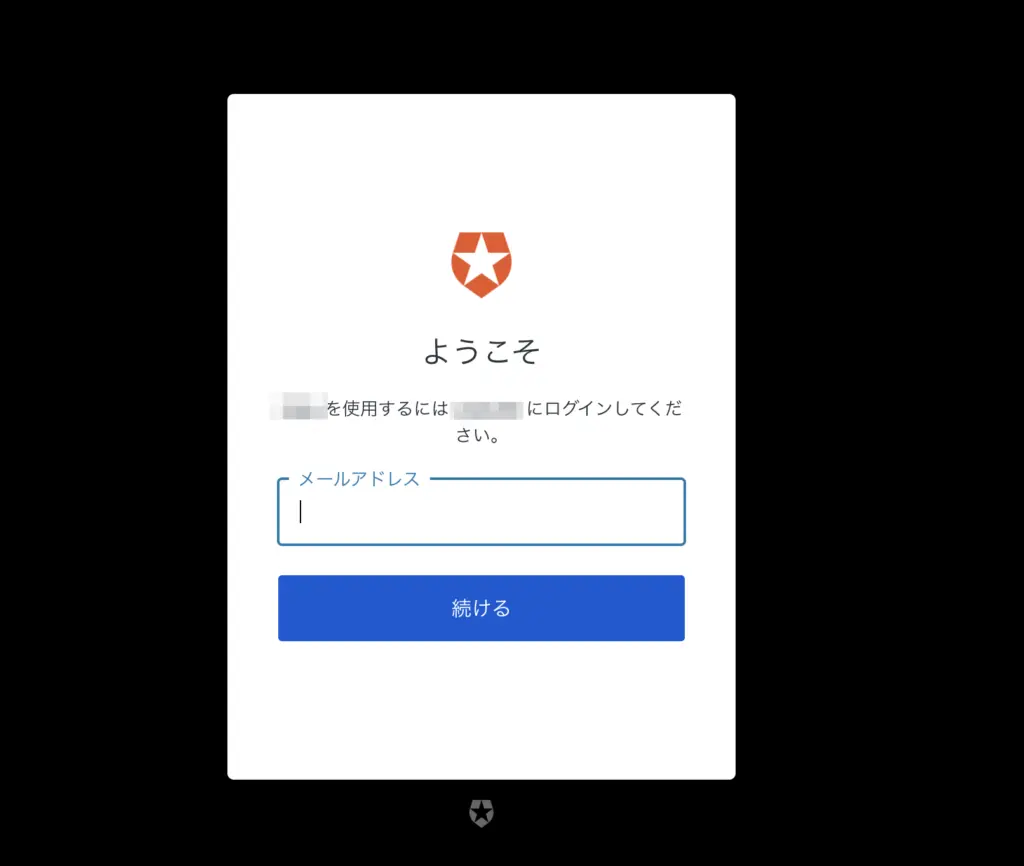
ここまで設定すると nextcloudのログイン画面にDirectログインとSSOでログインするかの選択肢が表示される。 ただ、選択肢が表示されるのはイケてないので自動的にSSOログインが実行されるようにApacheのconfに↓を追記する。
rewrite ^/index\.php/apps\/user_saml\/saml\/selectUserBackEnd?(.*)$ https://ドメイン/index.php/apps/user_saml/saml/login?originalUrl=&idp=1 break;これで自動的にSSOが実行されれるはず。